This blog is now out of date! The GRIP2 Damper has been replaced by the GRIPX2 damper, check out this blog post to learn everything there is to know about upgrading your Fox Fork to the GRIPX2 damper!
Intro
The GRIP2 Damper is Fox’s highest performing damper to date, and offers amazing performance paired with the most adjustability on the market. But unfortunately, not all of Fox’s forks come with this incredibly high end damper installed, and upgrading from their more affordable and less adjustable GRIP or FIT4 dampers to the GRIP2 damper has become an incredibly popular option for riders looking for increased performance out of their Fox 34, Fox 36, Fox 38, and Marzocchi Bomber Z1 forks. Gaining High Speed Compression as well as High Speed Rebound adjustments opens several doors in the tuning department and lets you really fine tune the fork to handle harder hits more so than with just low speed adjustments.
We’ll go over the complete list of tools and parts you’ll need to successfully slide that new damper in your fork leg. Each of these forks will greatly benefit from a GRIP2 damper, but first let’s make sure that your fork is compatible with the upgrade kit.
GRIP2 Damper Features
- Most adjustable damper on the market
- Low speed compression and rebound adjustments
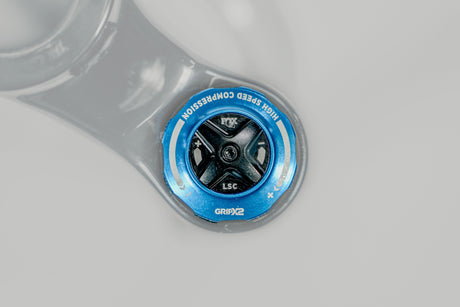
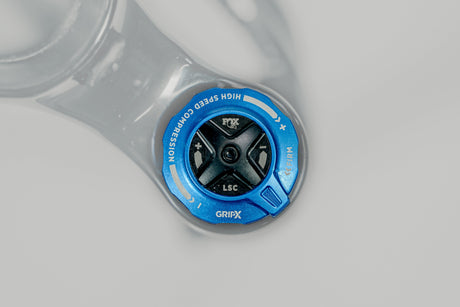
- High speed compression and rebound adjustments
- Smoother operation than GRIP or FIT4 dampers
- 125 hour service interval
- Can be installed by home mechanic
- 5wt PTFE Fluid required for install
- Starting at $360
Compatibility
Before you jump into action and start ordering upgrade kits left and right, let's just make sure that it's going to work with your specific fork! Most Fox forks from the past few years are compatible, but check out this super simple list of compatible forks and make sure that your fork is on there.
- Fox 34
- 2016 model year or newer
- Cannot be a Rhythm or Step-Cast series fork
- Fox 36
- 2015 model year or newer
- Fox 38
- Any Fox 38!
- Marzocchi Bomber Z1
- 2019 model year or newer
Making a plan
Once you’ve figured out that your fork is guaranteed to work with the GRIP2 damper, you’ll need to decide if you’re just going to be upgrading your damper, or if you want to perform any more service while you’ve already got your fork cracked open. If you’re at that 125 hour service interval or getting close to it, then it’s time for fresh seals, dust wipers, and an air spring service. Here at The Lost Co, we generally recommend servicing the fork earlier, around every 75 hours to keep it running absolutely perfect, but if this is a fresh fork that's getting treated to new parts before hitting dirt, then go ahead and leave everything but the damper where it is!
Before you tear your fork apart and make a mess in the garage, double check that you have everything on our shopping list! If you're just installing the GRIP2 damper and are not doing a full fork service, use the list on the right, but if you are going all in and giving your fork a complete overhaul, the list on the left is your new best friend!
Shopping list for FULL REBUILD
Required Tools
- Allen wrenches
- Shock pump
- Torque wrench
- Socket wrench
- 15mm socket
- 12mm socket
- 10mm socket
-
Chamferless sockets
- 26mm: GRIP Damper, Fox 34 Air Spring
- 28mm: GRIP2 Damper
- 32mm: RC2 Damper, Fox 36/38 Air Spring
- Fox Seal Drivers
- Rubber mallet
- Pin spanner
- Bucket
- Pick
- Lint free rags
- Rubber gloves
- Safety glasses
- Downhill tire lever
- Flathead screwdriver
- Wooden or plastic dowel
- Slickoleum
- Maxima SC1
- Syringe
- Propane torch or heat gun (propane torch recommended)
- Shaft Clamps (Part # 803-01-324)
Required Parts
- GRIP2 Damper
- Air spring rebuild kit
- Dust Wiper kit
- Fork Oil
- Shopping list for just GRIP2 Damper replacement
Required Tools
- Allen keys
- Torque wrench
- Socket wrench
- 15mm socket
-
Chamferless sockets
- 26mm: GRIP Damper, Fox 34 Air Spring
- 28mm: GRIP2 Damper
- 32mm: RC2 Damper, Fox 36/38 Air Spring
- Rubber mallet
- Bucket
- Lint free rags
- Rubber gloves
- Safety glasses
- Wooden or plastic dowel
- Slickoleum
- Maxima SC1
- Syringe
Required Parts
- GRIP2 Damper
- Fork Oil
Full service + Damper upgrade
First, let’s look at the case where you’re doing a full service while you’re upgrading your damper. Luckily for all of you, we have an incredibly in depth hour long YouTube video explaining every step (besides the air spring service) in pain staking detail, so please watch that if you're tackling this on your own, especially if its your first time! Even if you're an experienced suspension mechanic, you still might learn a thing or two!
The whole process is all pretty technical, and we won’t be breaking down all the steps to replace dust wipers, service your airspring, and install the GRIP2 Damper. Luckily, Fox has some fantastic manuals to help you take everything apart, and more importantly, put it all back together without breaking everything! The Dust Wiper and Bath Oil Service (pictures or video of process) is going to be essentially the same for all forks with a few small differences in the tools you need and the oils going in the lower legs. In step 7 in the first link, we recommend using a downhill tire lever instead of a wrench and being VERY careful not to scratch the insides of your lowers!
Now for the air spring, here are links to Fox's rebuild guides, which we recommend following to a tee for the best results!
Last but not least, we have to get that new damper in there! Once again, Fox has a great guide to help you get your fancy new parts installed without a headache. When you have all the tools for the job, this installation is very straightforward, and in case you need help tuning your new fancy damper, check out our super in depth YouTube video on our tuning tips specifically for this damper! Or check out our suspension setup blog post for all the ins and outs your could possibly want to get this fork #dialed.
Only Damper Upgrade
If you’re NOT planning on replacing your seals and wipers, then you’ve got a much smaller job ahead of you, and you don’t even need to drop the lower legs of the fork! Be warned though, we really only recommend this if you’ve just bought the fork or just had a full service done. Throwing the GRIP2 damper is of course an upgrade on its own, but won’t be nearly as much of an upgrade if you’re neglecting the rest of your fork! For all the visual learners out there, Fox has a great video of this process and we highly recommend checking it out for more specific steps in addition to all of the torque values you’ll need.
To install the new damper, you do still need to break the damper free from the lowers just like if you were dropping them, and all of the damper side bath oil is going to drain out into your oil bucket. Once you break your damper free, remove the damper top cap and use a chamferless socket to remove the damper. Now is a great time to clean out the inside of the fork using the SC1, lint free towels, and dowel to push those towels through. You won’t be getting into all the nooks and crannies of the fork because the uppers are still installed, but it’s better than nothing!
Once everything is cleaned up, slide that brand new GRIP2 damper into place, and there’s a little trick to getting that bath oil in there. In Fox’s video, you’ll see them attach the damper at the top of the fork and compress the foot of the damper to make room for their syringe to squeeze some oil in there, but we prefer to do it another way here at The Lost Co. We recommend that you pour the oil in from the top, so before you grab the syringe, attach the footnut at the bottom so that the oil doesn’t just pour straight out the bottom! There will be about an inch gap at the top where the oil can slide right in, and then get everything all buttoned up!
Outro
Just like that, your fork just got a HUGE performance upgrade and it’s time to hit the trails! The GRIP2 damper offers fantastic performance but it does take a little bit of tinkering to get all of the dials set just right. Luckily, we have a YouTube video specifically on all of our GRIP2 setup tips and tricks, as well as a series of blogs dedicated to setting up any piece of suspension, including your fork with that brand new damper in it!